
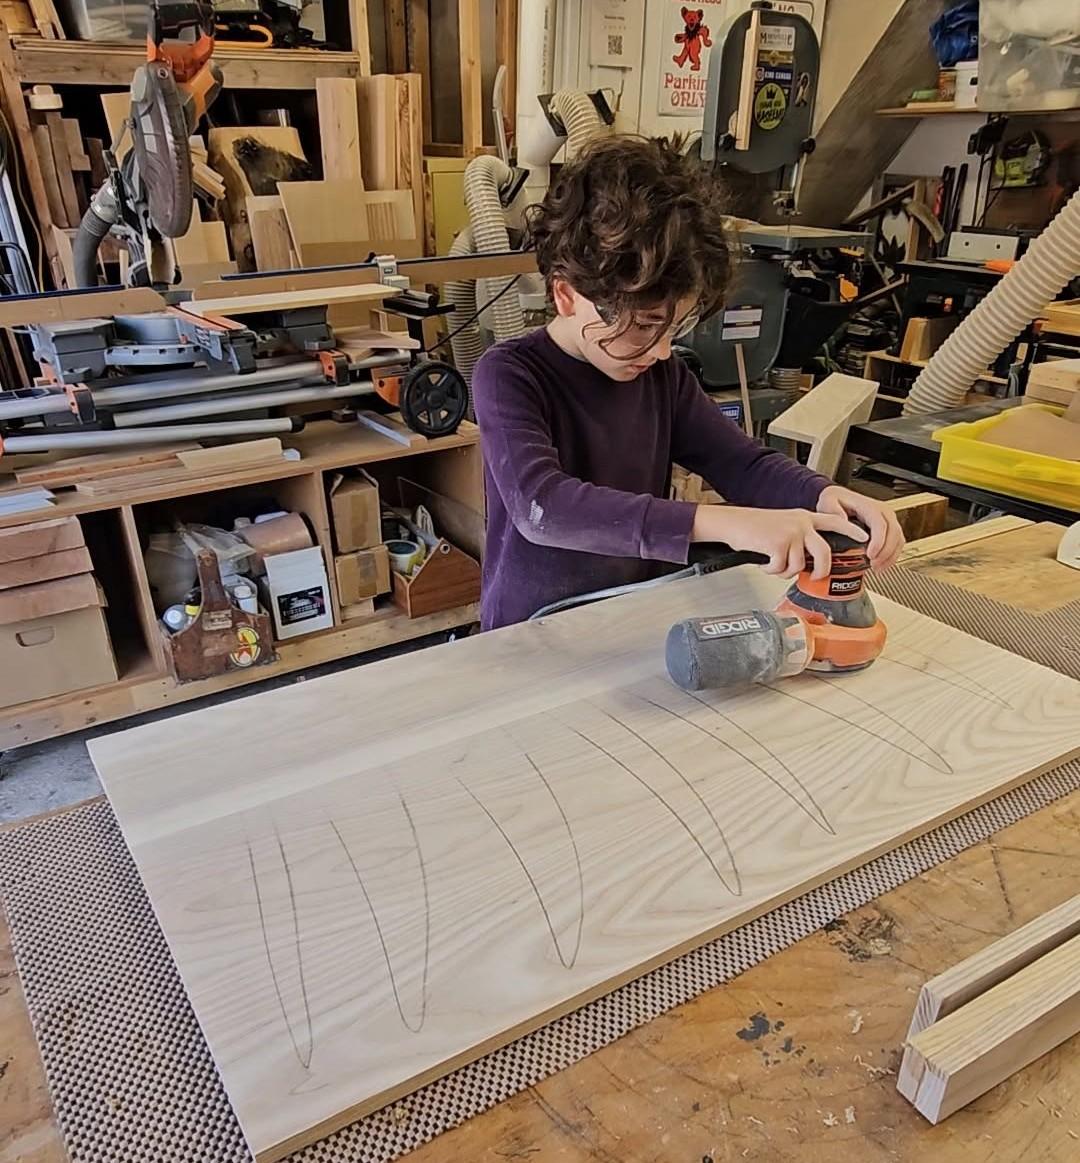
Walking into a woodshop for the first time can feel a bit intimidating. Sawdust already in the air, tools lined up, that smell of fresh cut lumber. But once you start a cutting board making class, most of that nervous energy turns into focus pretty quick. At GTA WoodWorks we see it happen every weekend. People show up not sure if they can handle a table saw, and leave carrying a board they actually made with their own hands.
Making charcuterie boards toronto style has gotten popular for a reason. Folks want something nicer than the thin plastic ones from the store, and they want to understand how wood works. A good class teaches you way more than just gluing strips together. You learn the why behind each step, not just the how. That knowledge sticks with you long after the class ends.
Choosing the Right Wood and Why It Matters
Picking wood is the first real decision. You learn which species hold up against moisture and knife marks. Maple, walnut, cherry – each has its own personality. Soft woods dent easy. Harder ones last years if you treat them right. We talk about grain direction too. Cut against it wrong and your board warps or splits later. Most beginners never think about that until they see a failed board in person. Then it clicks.
You also learn about food safety. Not every pretty board is safe for chopping vegetables or cheese. Some finishes and glues are toxic. In class we stick to the good stuff – the same materials restaurants use. That knowledge alone saves people from buying cheap boards that look nice but shouldn’t touch food.
Basic Tool Safety and Handling Skills
Safety comes early and we don’t sugarcoat it. Table saws and jointers can take a finger off if you get careless. You learn proper stance, how to use push sticks, and when to slow down. Short sentences here matter. Rushing gets people hurt. We practice with scrap first so the fear drops a little. By the time you cut your actual pieces, your hands know what to do even if your brain is still catching up.
Measuring, Cutting, and Gluing for Strength
This is where the board starts taking shape. You measure twice, cut once – yeah that old line is true. But you also learn how to arrange the strips so the grain fights warping. Alternating directions makes a stronger board.
Then comes glue-up. Too much glue and it’s a mess. Too little and the joints fail. Clamps go on tight, but not so tight the glue squeezes out completely. Timing matters. You wait the right amount before scraping the excess.
People often ask how long the glue needs to dry. In most classes we leave the boards clamped overnight or use a quicker method depending on the glue. You walk away understanding pressure, open time, and why cheap clamps can ruin a good glue-up. That skill transfers to any woodworking project later.
Sanding Until It Feels Right
Sanding looks simple until you do it wrong. Start too fine and you burnish the wood. Skip grits and scratches show up under finish. We teach progressive sanding – 80 to 120 to 180 or higher depending on the look you want.
You feel the difference with your hand more than your eyes sometimes. Edge rounding happens here too. Sharp corners dig into counters and hands. A soft roundover changes the whole feel of the board.
Finishing for Food Contact and Longevity
Finish is what separates a shop project from something you actually use every week. Mineral oil, beeswax blends, or hardwax oils – each has trade-offs. You learn how to apply thin coats, how long to wait between them, and how to maintain the board once it’s home.
Water sits on a properly finished board instead of soaking in. That’s the test. We also cover what not to do never put a wood board in the dishwasher. Ever.
Design Choices That Make a Board Useful
Not every cutting board needs to be a fancy end-grain showpiece. Face-grain works fine for most home kitchens and costs less in time and material. You learn when end-grain makes sense (heavy chopping) and when it doesn’t. Juice grooves, handles, feet all optional but useful.
For people interested in selling later, we talk proportions that photograph well and fit standard counters. DIY makers and side hustlers pick up ideas here for future boards.
Who These Classes Actually Help
DIY homeowners walk out ready to fix other wood projects around the house. Beginner hobbyists finally get past the intimidation of power tools. Couples treat it like a date that produces something useful instead of another bottle of wine.
Parents bring older kids and watch them focus for two solid hours – rare these days. Side hustlers leave calculating material costs and potential prices. Different groups, same core skills.
Learn Woodworking in Toronto Style Without the Overwhelm
If you’ve been looking for a way to learn woodworking toronto without signing up for a full semester course, a cutting board class is a smart entry point. It’s contained. One project. Clear start and finish. You still cover milling, joinery basics, surface prep, and finishing the foundations everything else builds on. GTA WoodWorks keeps class sizes small so you actually get help when the board starts acting up. And they do act up. Wood moves. That’s half the lesson.
By the end you’ve made something you can use or gift. More important, you’ve practiced real skills under someone who’s done this hundreds of times. The mistakes happen in class instead of alone in your garage at midnight. That’s worth the price of admission.
A cutting board class won’t turn you into a master craftsman overnight. It will give you confidence with tools, respect for the material, and a solid understanding of how wood behaves under stress and moisture. Those lessons show up again when you build a shelf, a table, or just decide to fix the wobbly chair in the kitchen. Show up ready to listen, get your hands dirty, and leave with a board that has your marks on it. That’s the real point.
 English
Join our community to interact with posts!