
The Osprey rewards patience, preparation, and a clear exit plan. Before heading into contested territory, players looking through ARC Raiders BluePrints can build a loadout around mobility, reliable close-range support, and enough supplies to survive a sudden collapse of distance.
Its strength is not simply long shots; it is the pressure created when opponents must cross open ground under threat. An Osprey user who stays in one place too long, however, becomes predictable. Every successful shot should be treated as information given away, because nearby squads will quickly trace the angle and begin closing in.
Pick Positions That Offer More Than a View
High ground is useful only when it provides several sightlines. Look for rooftops, broken platforms, hillsides, and elevated industrial paths that let you watch an approach while keeping cover within a short step. A perfect view with no protection is usually a poor fighting position.
Favor locations with a solid object beside or behind you. A wall, machinery cluster, doorway, or uneven rock formation can break enemy vision while you reload or decide whether to move. The Osprey is strongest when you can expose yourself briefly, fire, and disappear before return fire arrives.
Plan Your Retreat Before Taking the First Shot
Every firing spot needs at least two departure routes. One route should take you backward into cover, while the second should move sideways to a fresh angle. If enemies rush the obvious path, the side route prevents them from forcing you into a narrow corridor with no room to react.
Do not place yourself at the end of a roof, tunnel, or cliffside unless a teammate can protect your approach. The Osprey works best when you control space, not when you are trapped defending a single doorway. Leave room to retreat, reload, and bring out your secondary weapon without panic.
Move After Your Position Is Revealed
Once you fire several times from the same place, expect attention. Even if the enemy cannot see you immediately, they may use sound, impact direction, or teammate callouts to estimate your location. Shift a short distance after a confirmed hit, then wait for opponents to search the old angle.
Repositioning does not always mean running far away. Moving to the opposite side of the same structure can be enough to create confusion. The goal is to make the enemy look where you were, while your next shot comes from somewhere they did not expect.
Know When the Osprey Has Lost Its Advantage
The critical decision comes when opponents reach close cover, enter your building, or begin circling beneath your position. At that point, forcing another Osprey shot can waste valuable seconds. Tight angles, fast movement, and pressure from multiple directions remove the weapon's main advantage.
Switch early to a dependable secondary weapon when an enemy is about to round a corner or when you no longer have room to back away. Use the Osprey to create the opening, then let the secondary finish the encounter. Survival matters more than proving that every fight can be won with one weapon.
A disciplined Osprey player keeps distance when possible, changes angles when noticed, and leaves before the fight becomes a close-range scramble. With smart positioning and a ready backup plan, ARC Raiders buy BluePrints can support a loadout that stays dangerous even after the first shot draws attention.
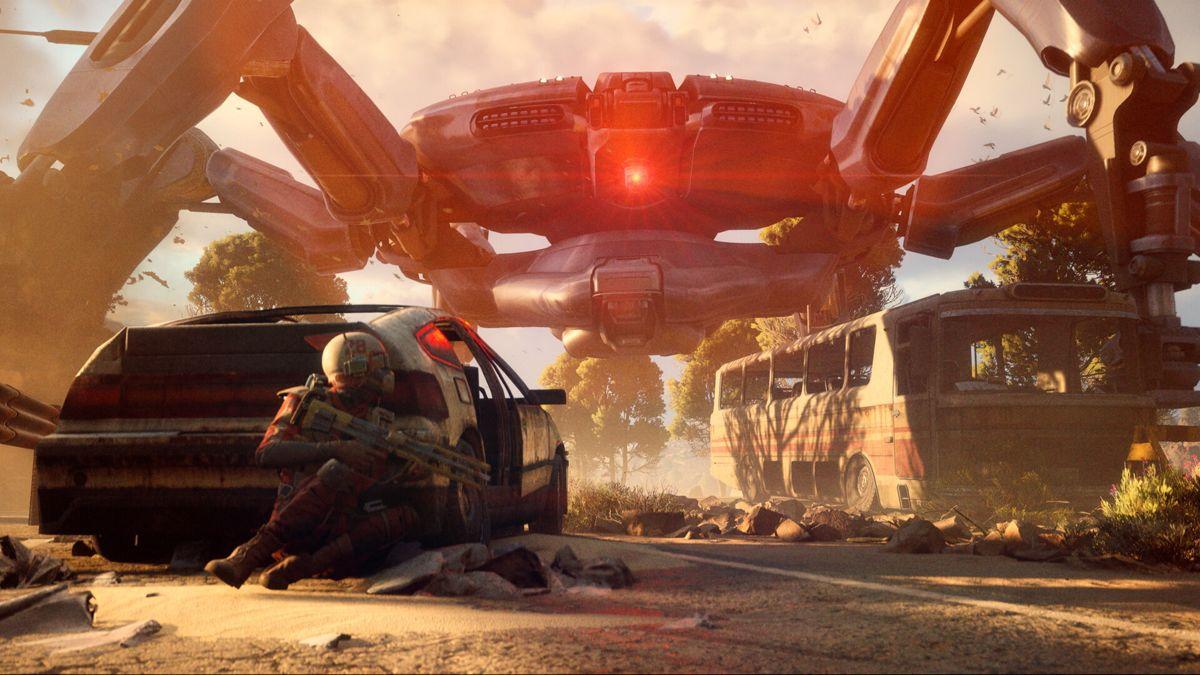
U4gm Arc Raiders Osprey Close Range Survival Tips
Vote
Comment
Share
- Arts
- Business
- Construction
- Current Events
- Earth
- Employment
- Fashion
- Financial
- Fitness
- Food & Beverages
- Geography
- Health
- History
- Human Rights
- Internet
- Language
- Math
- Medicine
- Movies
- Music
- Natural Medicine
- Outer Space
- Parenting
- Personal Development & Self Improvement
- Politics
- Religion
- Safety
- Spirituality and Awakening
- Sports
- Technology
- Theatre
© 2026 CS Factor, trademark, all rights reserved.
 English
Join our community to interact with posts!