
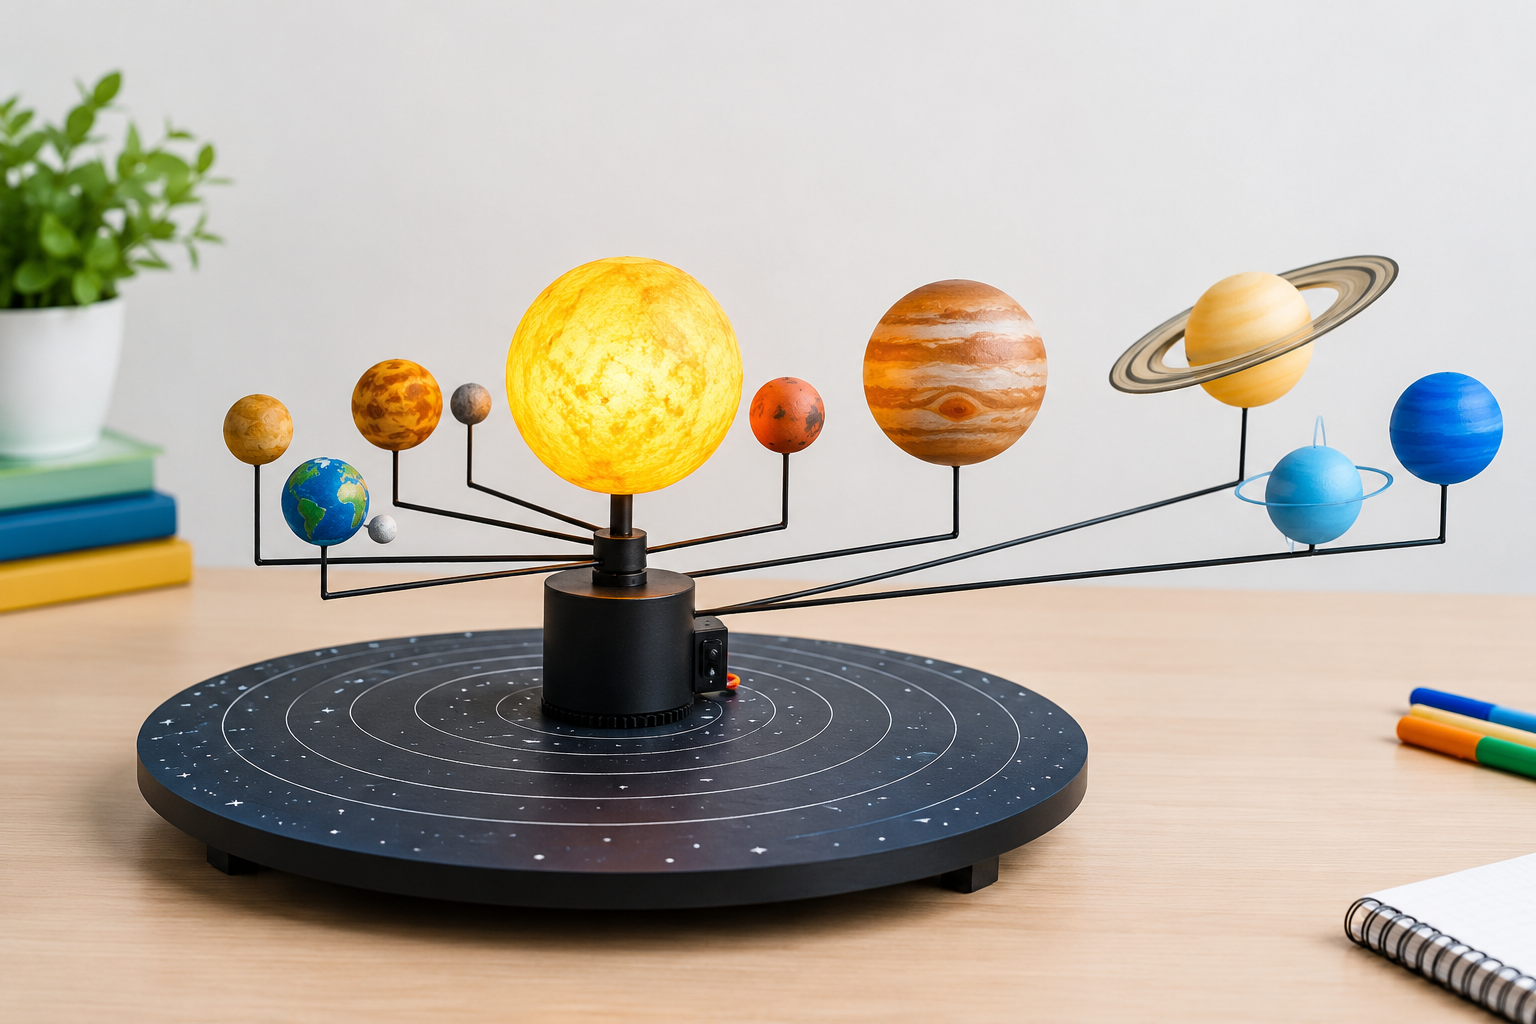
A moving model of the planets is one of the most effective ways to explain astronomy, whether you run an ed-tech company, a museum, or a corporate training program. This guide walks through how to build one, with the planning, cost, and quality points decision-makers care about.
Why Build One? The Business Case
A well-executed solar system model working prototype makes a complex subject tangible. Education businesses use it to add value to STEM kits, and event teams use it as an eye-catching centerpiece. Training leaders use the build itself as a hands-on teamwork exercise.
Step 1: Define Your Goal and Scale
Decide who the model is for and where it will be displayed. A tabletop classroom version needs different materials than a lobby installation.
Then choose a scale. Real planetary distances are too large to reproduce, so most builders compress distances and keep orbital speed ratios as accurate as they can. Label your scale clearly. It builds credibility with your audience.
Step 2: Gather Materials
A basic motorized build needs:
-
A base board: Wood or acrylic, sturdy enough to hold the mechanism.
-
A DC or stepper motor: Low-voltage and quiet.
-
Gears and pulleys: Different sizes set different orbital speeds.
-
Metal or plastic rods: These work as orbital arms.
-
Planet spheres: Foam, polystyrene, or 3D-printed, painted to match each planet.
-
A power supply or battery pack: With enclosed wiring for safety.
-
Optional extras: LEDs for the Sun, or a microcontroller such as Arduino for adjustable speeds.
Step 3: Build the Mechanism
-
Mount the motor at the center of the base, where the Sun will sit.
-
Attach a gear train to the motor shaft. Each gear ratio controls one planet’s orbital speed.
-
Fit the orbital arms at scaled lengths so each planet sits at its relative distance.
-
Attach the planets, starting with the inner four, then the outer four.
-
Add the Sun on top of the central shaft, ideally with a built-in light.
For realism, a good solar system model working design keeps inner planets noticeably faster than outer ones. Mercury orbits in about 88 days, while Neptune takes roughly 165 years.
Step 4: Test and Refine
Run the model slowly first. Check for gear slippage, wobble, or arms colliding. Adjust gear ratios, tighten mounts, and confirm the wiring is insulated. Testing early avoids costly fixes after the project is installed or shipped.
Step 5: Verify Your Data
Accuracy supports trust. Use authoritative sources such as NASA for planet diameters, distances, and orbital periods, and cite them on any display card or packaging. Before you finalize the design, you can learn more about solar system fundamentals so your labels and explanations stay correct.
Common Mistakes to Avoid
-
Ignoring scale labeling, which confuses viewers.
-
Using underpowered motors that stall under load.
-
Skipping safety checks on wiring and moving parts.
-
Overcomplicating the first prototype. Start simple, then add lighting or automation.
Conclusion
Building a dependable solar system model working prototype takes careful planning, the right gear ratios, and consistent testing. The result is a durable educational asset that engages audiences and reflects well on your brand. Start with a small prototype, validate it, and scale up once the mechanism performs reliably.
 English
Join our community to interact with posts!